Tags
The Tags page manages all the BLE User Tags that have been provisioned for your account.
For information on tag hardware components see Guardian Hardware Guides.
Jump to:
View Details
The main page of the Tags tab displays all tags created for your facility. From this page you can view & edit individual records or export your tag list.
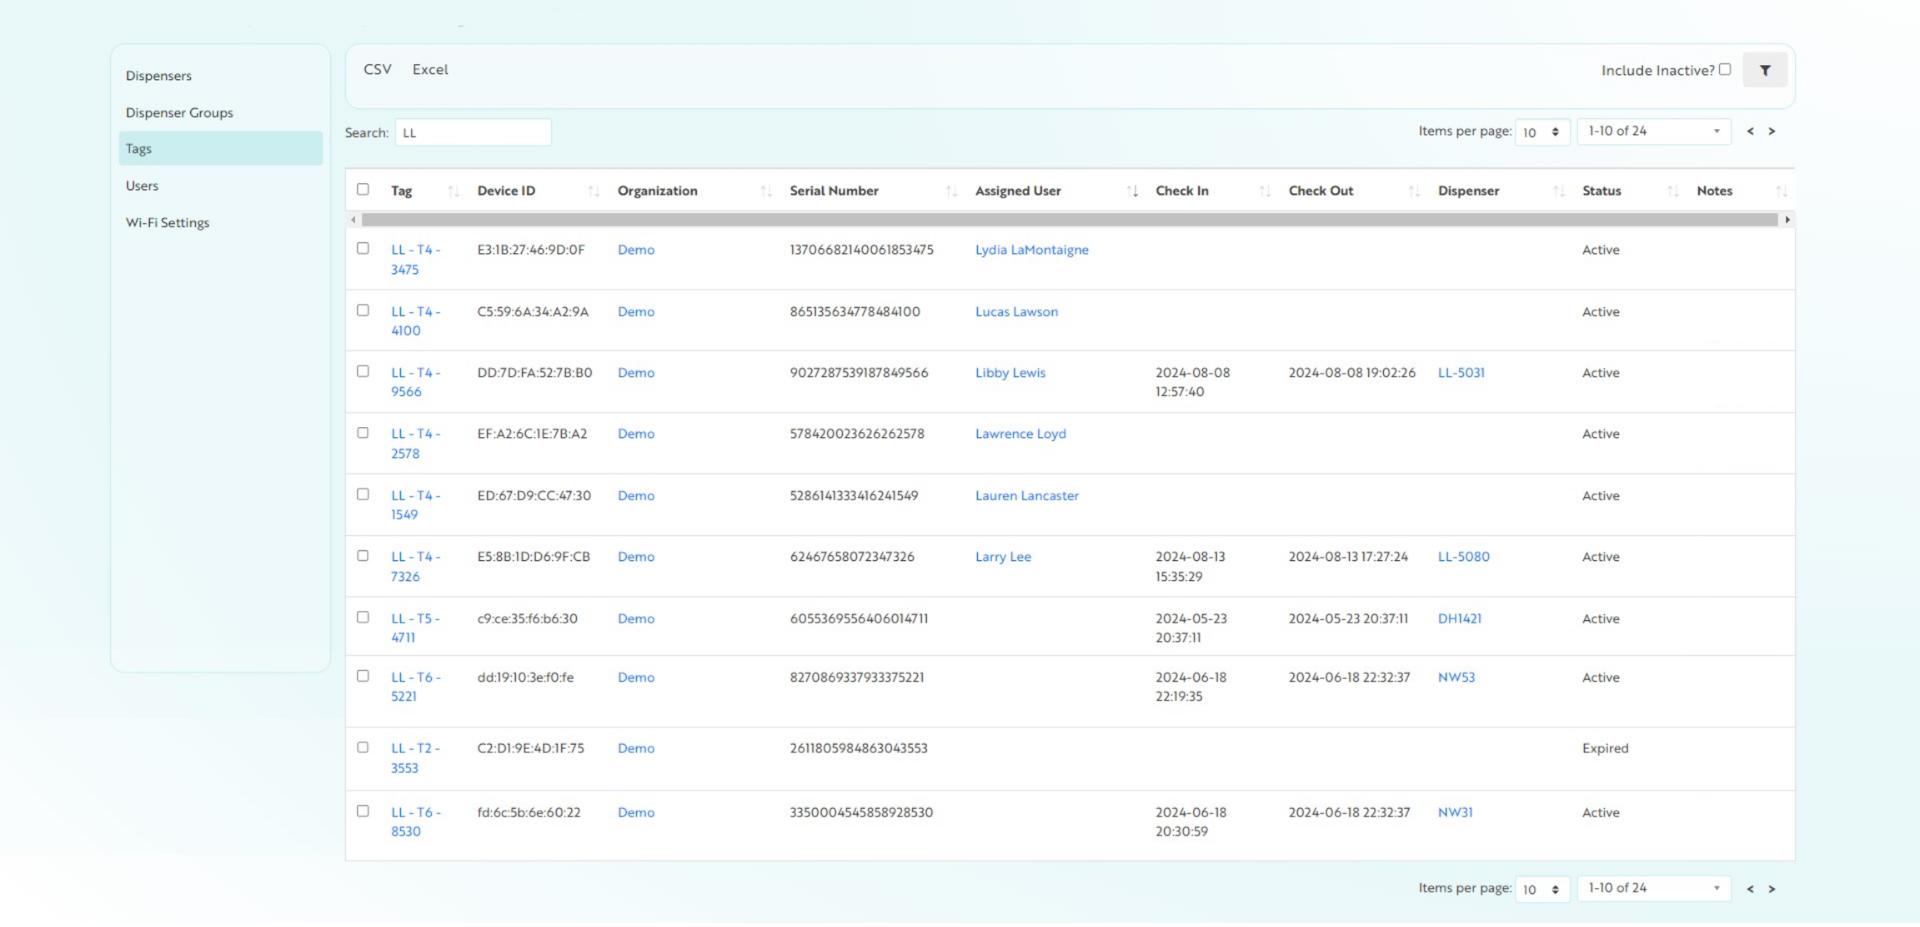
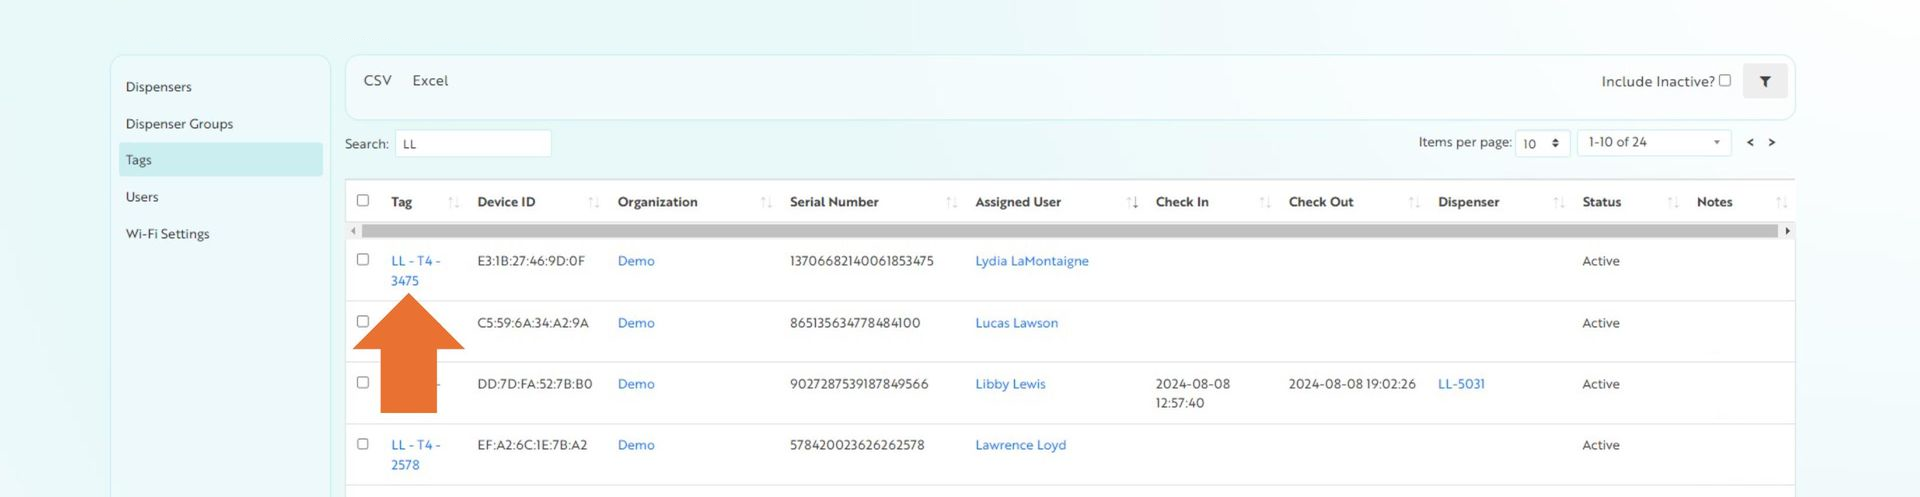
Click on a tag name to view all details for an individual record.
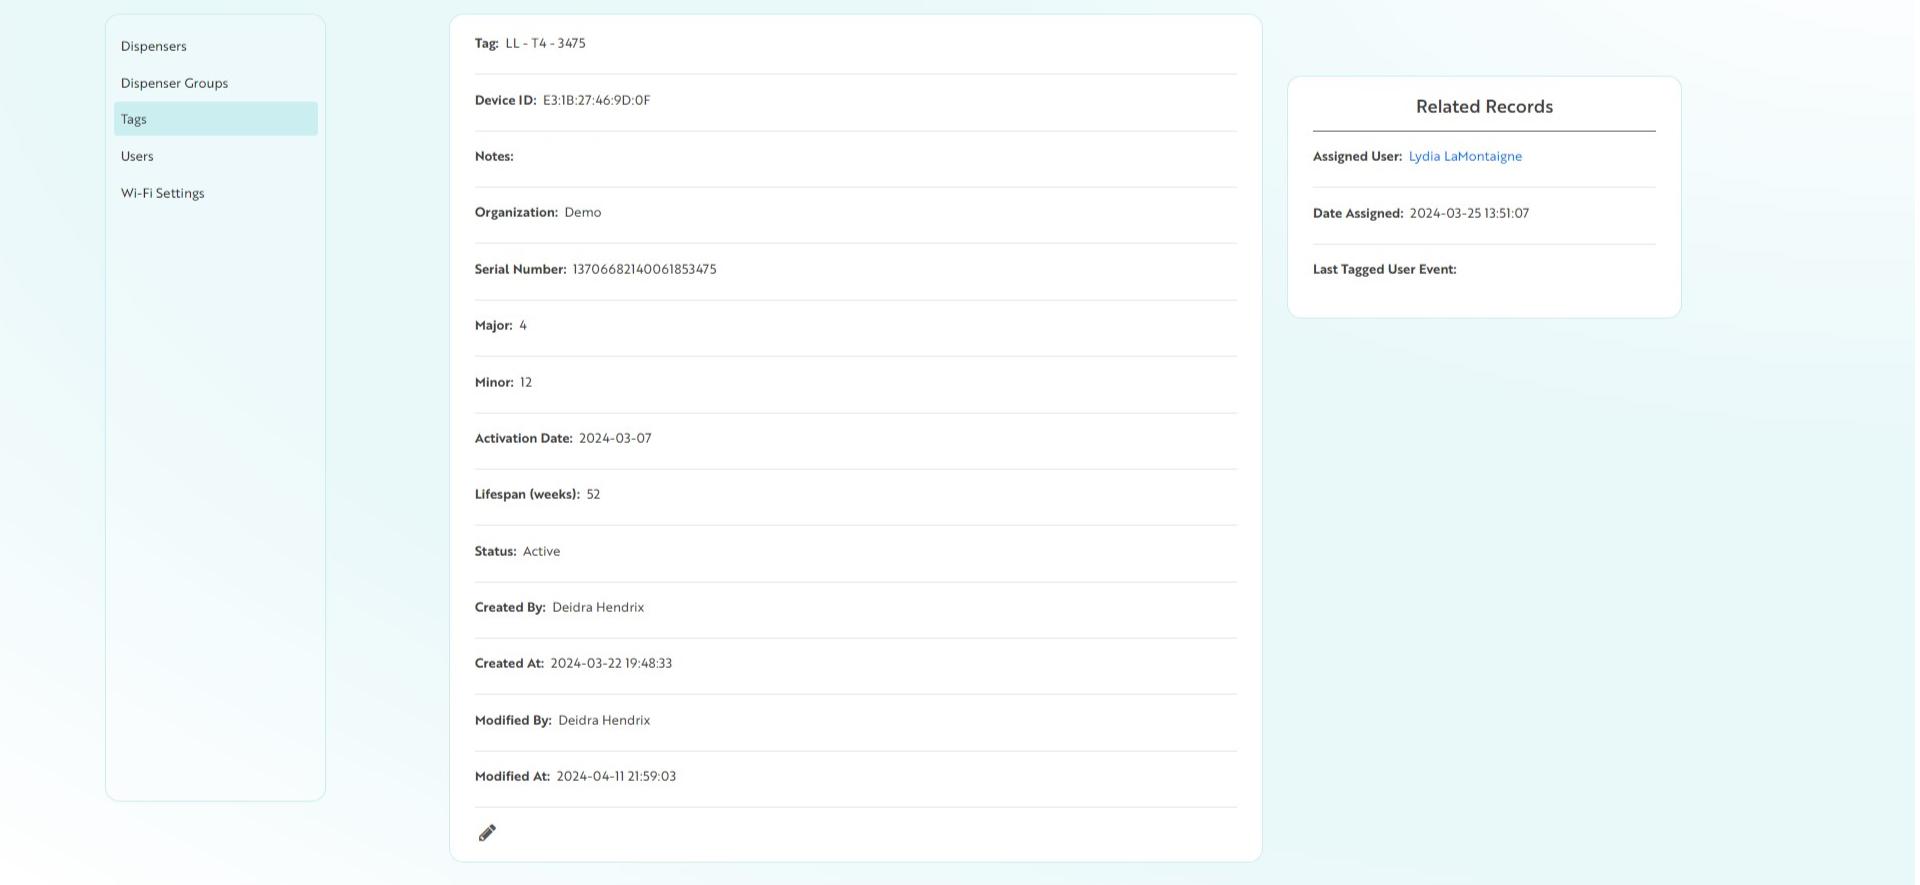
The View page displays all fields for that record, as well as Related Records. Related records provide additional visibility to this record in other areas of the app, such as pre-formatted reports or connections to other objects.
Create New
New BLE tags will be entered automatically by Mirador upon order, so creating new BLE Badge records will not be required. Please contact Support if you have questions about new tag entry. We’re happy to help!
Edit Tag Details
Click the name of a tag to view the record details, then click the Edit icon to edit a specific tag’s settings.

From this page you can update any of the above fields for a single tag.
Bulk Actions
Batch updates for tags can be completed using the bulk actions menu drop-down.
- Select the applicable tags to update using the check boxes in the first column of the page
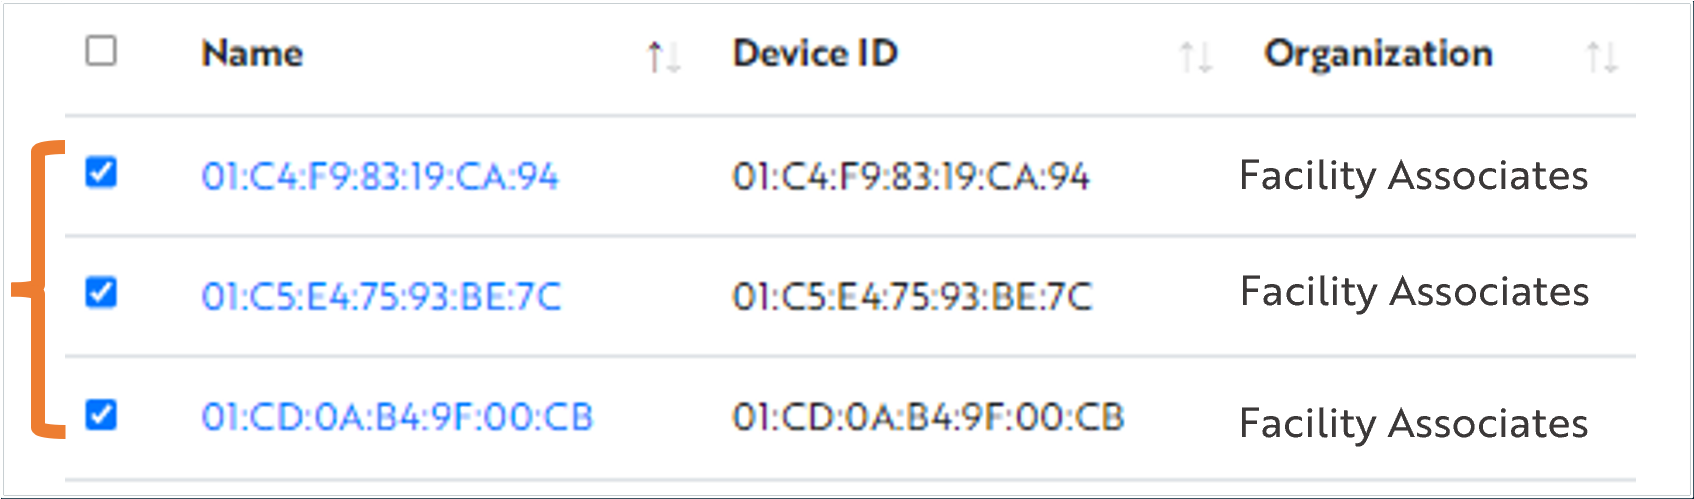
- The Bulk Action menu appears (above Advanced Search). Choose an action from the drop-down list:
- Organization & Department: Change the tag’s assigned Organization or Department(s)
- Update Status: Activate tags for assignment to a user or deactivate tags to take them out of availability
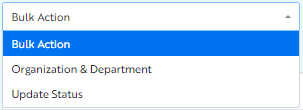
- Click Submit to save your changes

Tag Status
Tags are somewhat unique in the application, in that they have more than just an “Active” and “Inactive” status setting. Each status allows Insights to process the tag information differently.
- Active: Active tags are those “live” in the application - those that have been assigned to users as well as those which are ready to use but not yet powered on.
- Do not power on a tag until you are sure it will be used, as this will drain the battery. Once powered on, any activity by this tag that is picked up by a dispenser will be included in reports and compliance calculations, even if not assigned to a user.
- Expired: Expired tags are those which have moved past their shelf life. Tag expiration is, by default, 52 weeks from its activation date. Expired tags may send erratic signals, which could throw off compliance calculations, and so therefore are blocked from the reporting side of the application. Expired tags are still visible under the Management Tab, so that Administrators can verify with users if/when their tag has expired and can process a replacement.
- Inactive: Inactive tags are those which have been confirmed as no longer in circulation and can be cleared from the User. Marking a tag as Inactive, just like marking a User or other record as Inactive, is a manual step taken by an Administrator to keep the application clean. Tags marked as Inactive will be automatically de-assigned to a user by the application.
Related Videos