Users
Any icons or options listed in this guide that are not visible to you are not available for your role permission. Please contact your Admin for assistance to update your permissions if needed.
Jump to:
Permissions
There are three levels of access, or permissions, within the Insights application:
- Organization Administrators (Admins) can access all reports within your organization. They can create/edit new Staff Users and Organization Supervisors, create/edit devices, edit/update Wi-Fi settings, and create new Orders.
- Some features, like changing your org structure’s facilities or departments, or bulk uploads of data, must be handled by Support.
- Organization Supervisors (Supervisors) can access all reports within your organization. They can view Wi-Fi settings, device details and details for staff users but cannot edit fields within Insights. Supervisors have read-only access to Mirador.
- Staff Users are individual users - those who are assigned BLE badges for sanitization monitoring, and who have login access to their data only. Most users within the app are Staff Users, regardless of their Type (title or position).
- Should a Staff User need login access to view reports, adjust their role to Supervisor.
- Should a Staff User need admin access to create or edit app settings, adjust their role to Administrator.
View Details
The main page of the Users tab displays all registered users with BLE tags for your facility, as well as details about their contact info and status.
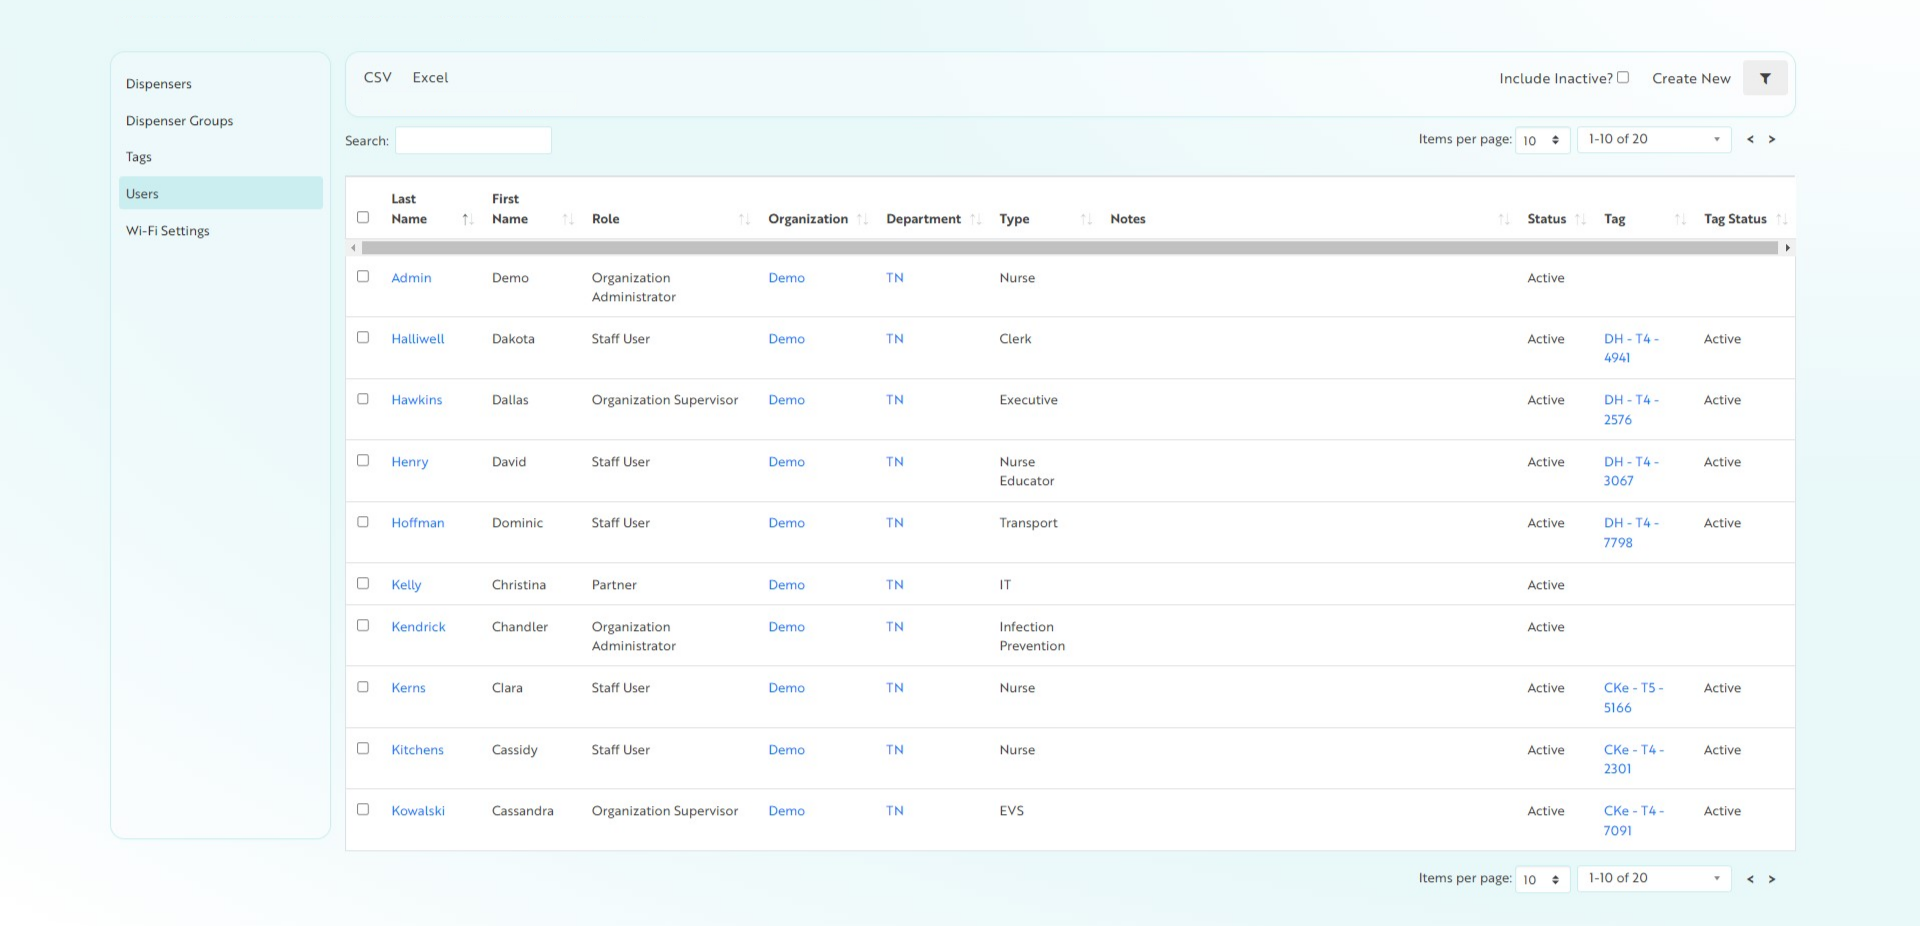
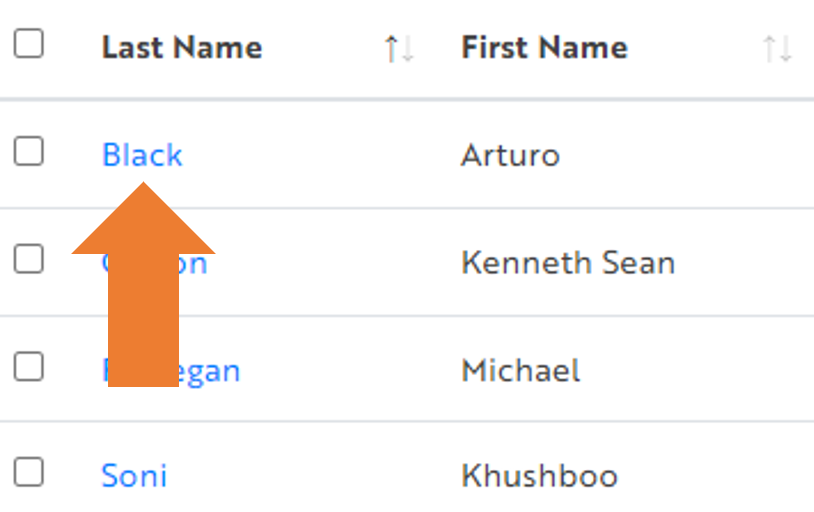
Click on a user name to view the details of an individual record.
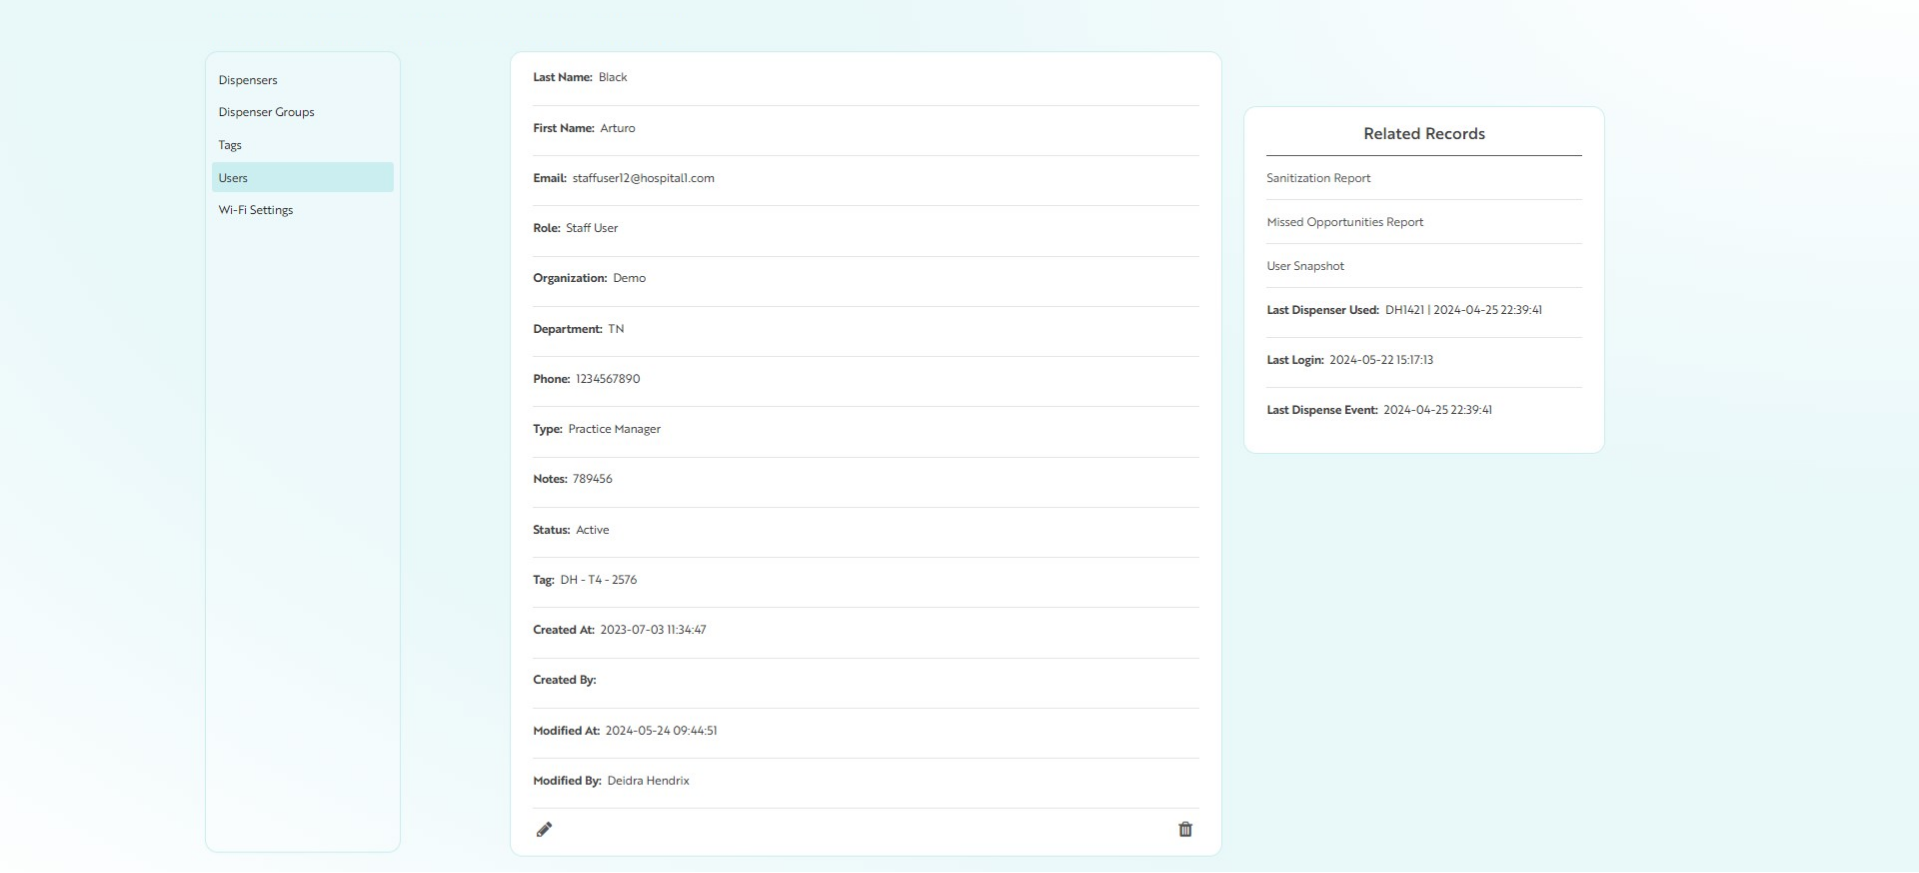
The View page displays all fields for that record, as well as Related Records. Related records provide additional visibility to this record in other areas of the app, such as pre-formatted reports or connections to other objects.
Create New
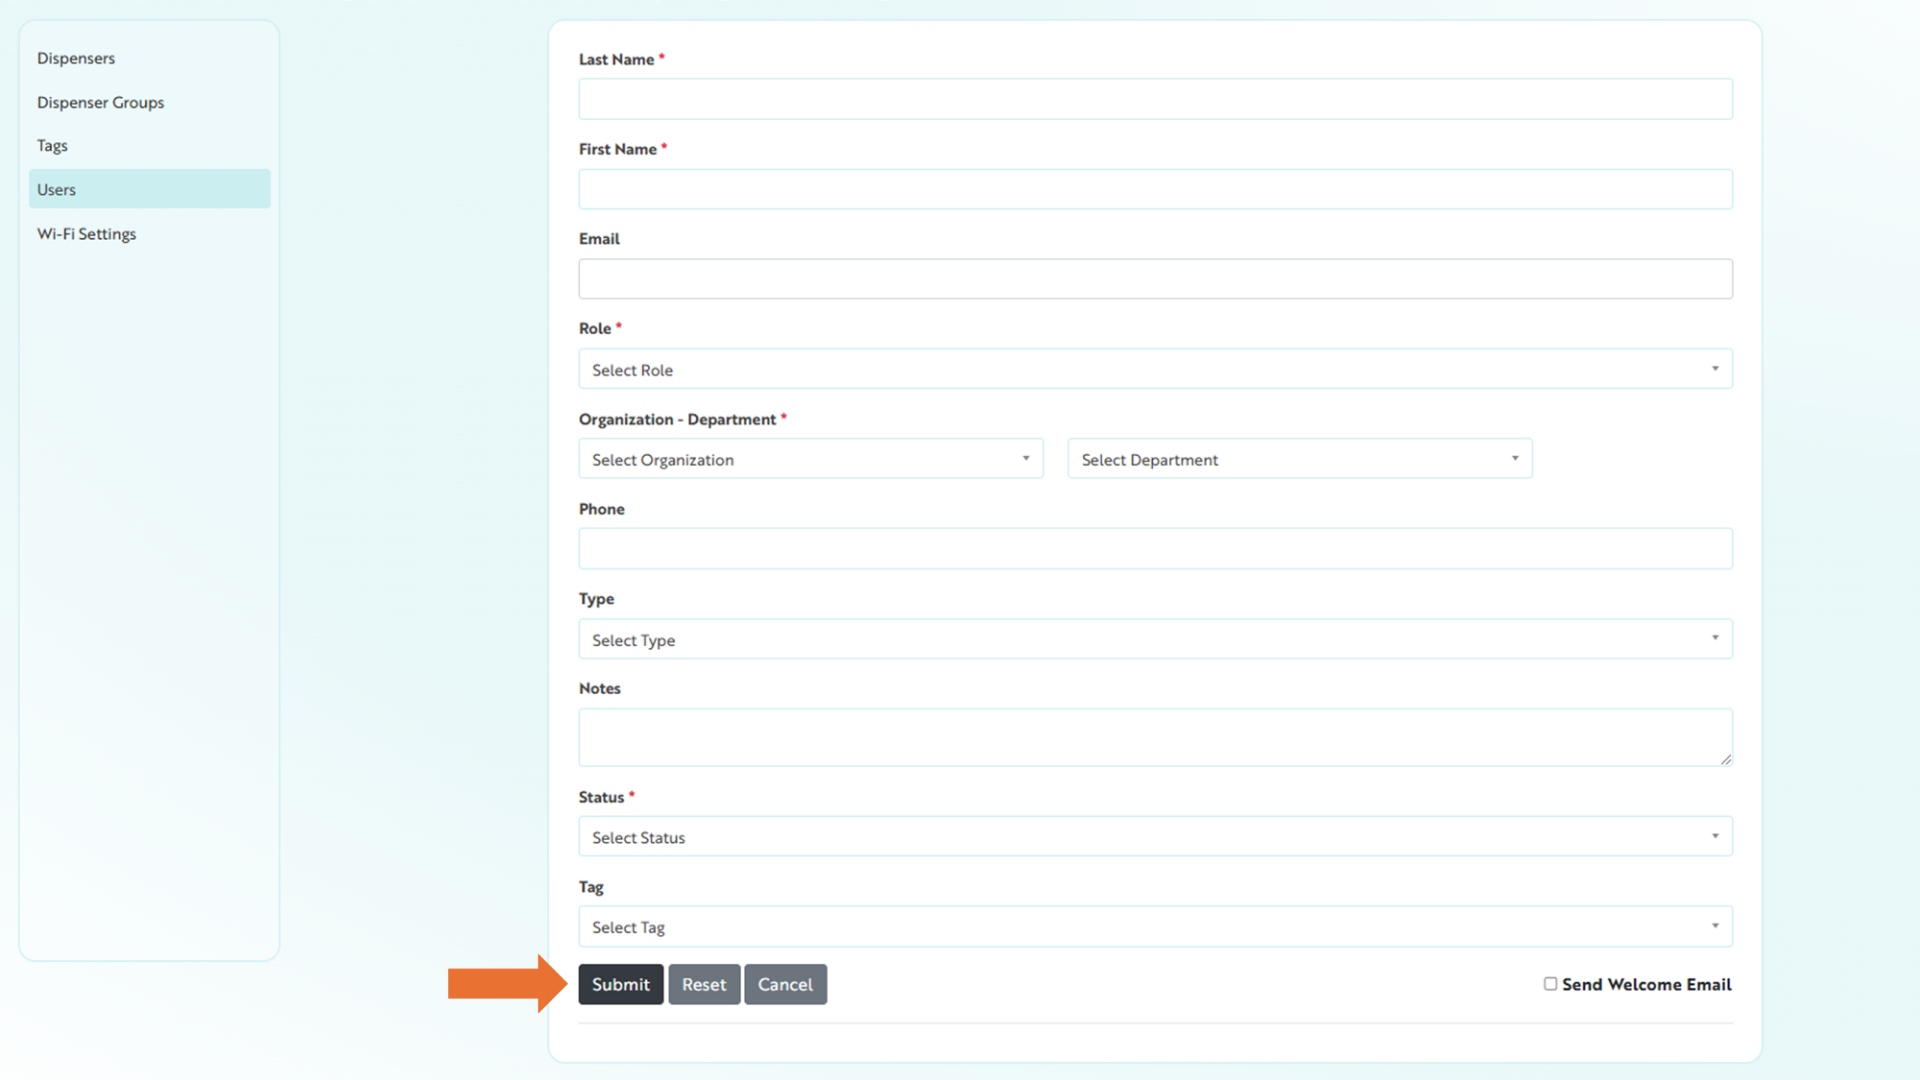
- Click Create New to create a new user record

- Fill in the fields as applicable:
- Email: Enter the email address that notifications can be sent to for this user
- A Welcome Email will be sent upon creation of an active account or upon activating an inactive account. Please contact Support to have the Welcome Email resent.
- First Name: Enter the user’s first name
- Last Name: Enter the user’s last name
- Organization – Department: Choose the facility and department (where this user is housed within your organization) from the dropdown menu
- Click the +ADD button to generate additional rows if this user works across multiple facilities or in multiple locations
- Role: Choose the role for this user from the drop-down menu
- Tag: Select the name/tag number assigned to this user from your list of active tags
- User ID: Enter your company’s ID number for this user if you have one (this helps you ensure consistency should the user have a name change, etc.)
- Phone: Enter the user’s phone number (optional)
- Status: Select ACTIVE from the drop-down menu
- Click Submit to save your changes
Edit User Details
From the Edit page you can update any of the above fields for a user.
Click the name of a user to view the record details, then click the Edit icon to edit a specific user’s settings or Delete to purge the record from Insights.

Changing a User's Tag
Changes to tag assignment for users can be completed in two ways:
- Through the Record Detail page
- Through in-line editing of the tag column on the Users page
To change a user's assigned tag on the Users page:
- Search for the User to pull up the record

- Hover on the record under the Tags column. A pencil icon appears

- Click the pencil icon to edit the Tag field. The list of available, active tags appears
- Select the applicable tag from the list

The page will save your changes.
Bulk Actions
Batch updates for users can be completed using the bulk actions menu drop-down.
- Select the applicable tags to update using the check boxes in the first column of the page
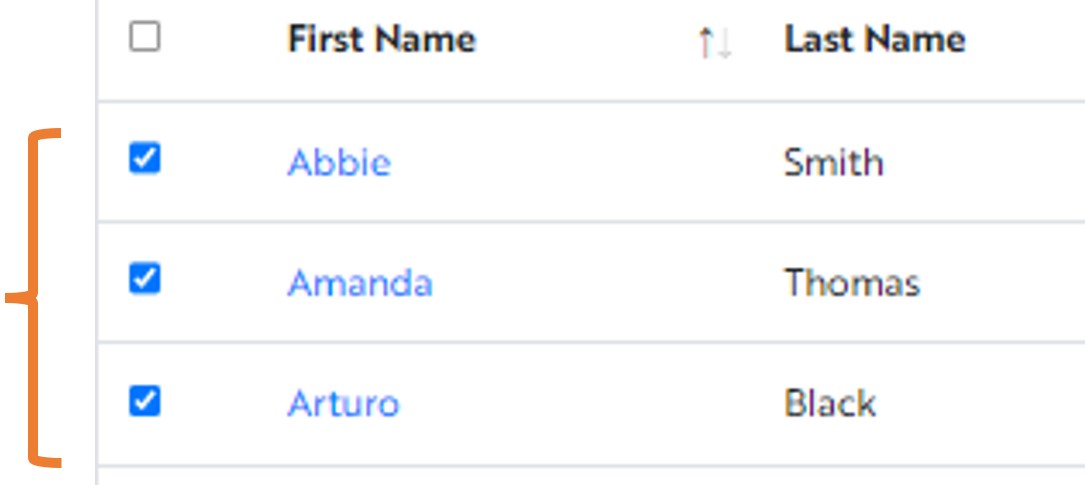
- The Bulk Action menu appears (above Advanced Search). Choose an action from the drop-down list:
- Resend Welcome Email
- Resent Password Email
- Update Status
- Set user to “Active” to send them live in Insights
- Set user to “Inactive” to disable their Insights access

- Click Submit to save your changes

Related Videos