We are expanding our team. How do I assign tags to new users?
To assign a tag to a user: the tag must be powered on, and both the Tag and the User’s profiles must be active within Insights.
Tags
- Do you have extra tags available to assign?
- You may have them in a desk drawer, box, or other storage location. If so, you’ll want to make sure the tag is active in the application before it can be assigned to a user.
- If not, go ahead and order more! Once the purchase is complete and the items are shipped, Mirador will load the tags into your app for you and they will be immediately available for use in the next step.
- Activate the tag
- View your list of tags on the Tags page.
- Find the matching record within the app by searching for the serial number provided on the tag.
- If no results are found, check the “Include/Exclude Inactive” option and make sure it’s set to Include Inactive tags.
- If the tag is “Inactive” update the status to “Active.” Only active tags can be assigned to users.

- Power the tag
- If the tag is new (not recycled), it will need to be powered on. Once a tag is powered on, it cannot be powered off again.
- Press and hold the POWER button on the tag for three seconds.
- The LED indicator on the tag will light for 5 seconds, confirming the tag is powered on.
- The tag will boot up and become visible to the Insights system. This usually takes about a minute.
- The LED indicator on the tag will flash three times to confirm that it is ready to use.

Users
- Does the User already exist in Insights? If so, ensure that the record is set to "Active," then use the quick assign feature to select the tag from the drop-down menu.

- If not, create a new User profile for the applicable team member and fill in the fields.
- All of your active tags will be available in the Tag dropdown menu of the New User template.
- Select the name/tag number assigned to this user from your list of active tags.
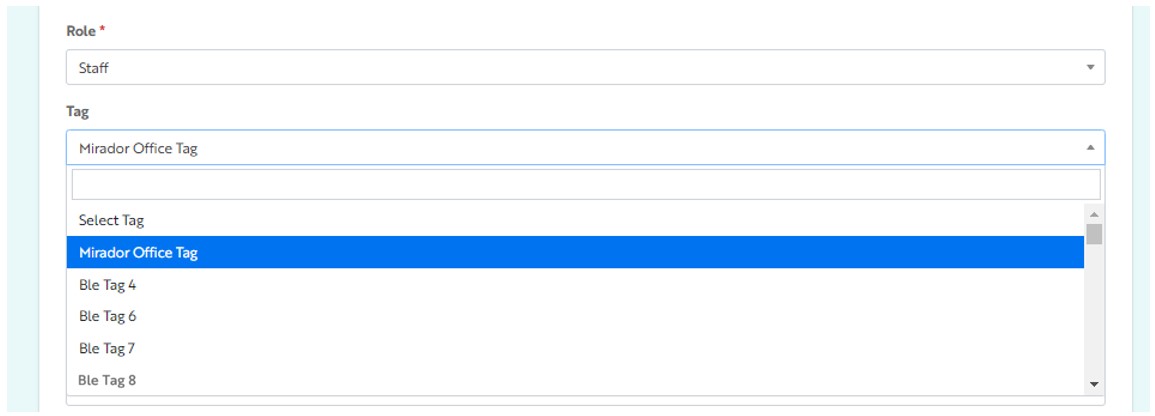
- Select a Role.
- See Access Levels for descriptions of user roles.
- Assign the User’s status of “Active” or “Inactive.”
- Admins can pre-load users and assign tags prior to the new user’s first login. When creating the user, simply list the Status as “Inactive” until you’re ready for the user to log in. When you’re ready for the user to go live, you can change the user’s status to “Active” via the Edit or Bulk Actions options.
- Click Submit to save your changes.
That’s it! You can then hand the tag off to the user and it will be picked up by all dispensers in your network.
Related Articles